
Trying to hold a small board with one hand while sawing through it with the other is an exercise in frustration. The timber wants to skate across the benchtop, the saw binds in the cut, and the line drifts away from square before the blade has sunk even three millimeters into the grain. Clamps can lock the wood down, but positioning and tightening a metal clamp for every single short crosscut turns a five-minute job into a half-hour chore. The bench hook solves this problem without mechanical moving parts, pneumatic pressure, or complicated hardware.
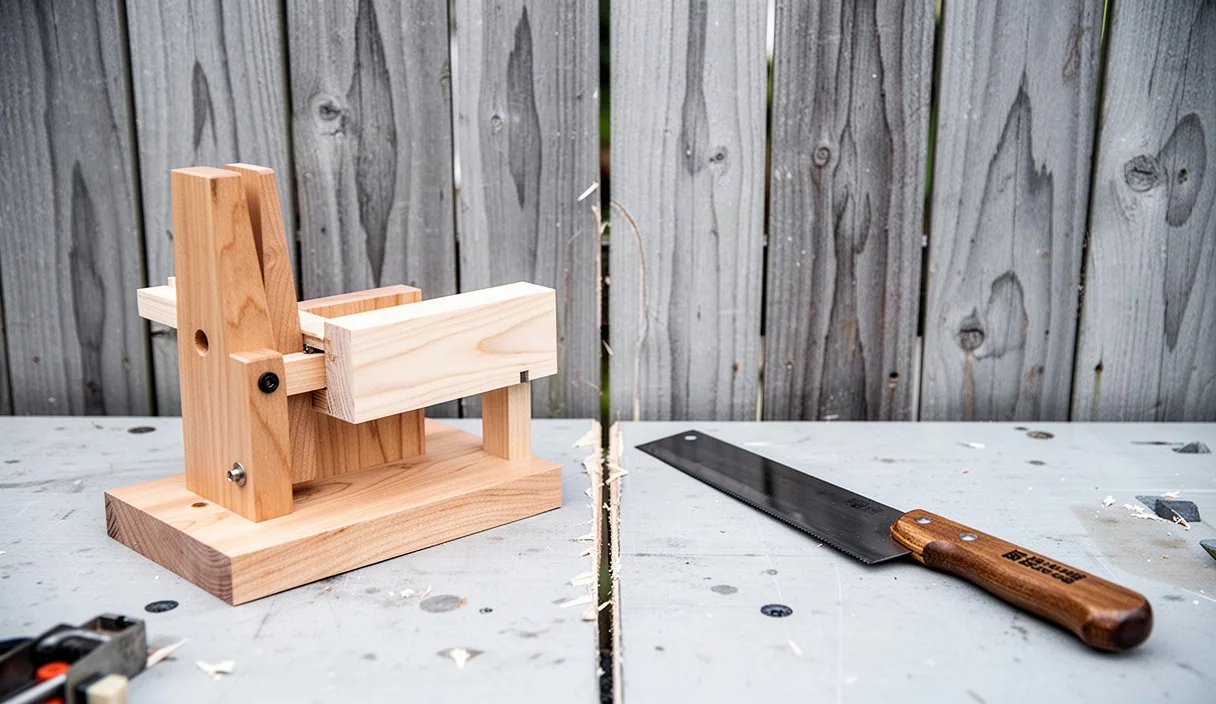
A bench hook is an unpowered holding appliance made from three pieces of wood: a flat base board, a top stop called a fence, and a bottom hook cleat that grabs the front edge of your workbench. When you push forward with your saw, your physical effort drives the entire assembly firmly against the bench rather than kicking it loose. Building one takes less than an afternoon, requires only simple hand tools, and provides an immediate foundation for clean, reliable crosscuts in timber of almost any common dimension.
The mechanical reason bench hooks keep boards stable
Why does a bench hook hold timber so securely without a single clamp tightened against the workbench? The secret lies in Newton's third law of motion: every action creates an equal and opposite reaction. When you saw through a workpiece, the teeth of a traditional Western handsaw cut on the push stroke, directing energy straight forward away from your body. A bench hook uses that exact forward vector to hold itself in place.
Think about pushing a heavy wardrobe across a carpeted floor. If your shoes slip, the wardrobe stays still; but if you brace your heels against a solid baseboard, all your leg drive transfers directly into moving the heavy furniture. The bottom cleat of the bench hook acts like that baseboard. It drops over the front rim of your bench apron or top edge. When your saw pushes forward into the workpiece, the workpiece pushes against the top fence, the base board transfers the load forward, and the bottom cleat catches the bench face. The harder you push the saw, the tighter the cleat binds against the bench edge.
Frictional resistance across the broad flat base provides the second half of this stability. Because the base usually rests over an area of roughly 200 millimeters by 280 millimeters, the downward pressure of your non-dominant hand generates substantial surface contact. This prevents lateral sliding while your saw moves back and forth. You do not need to squeeze the wood with white knuckles. You merely apply gentle downward pressure while leaning slightly into the cut, allowing the geometry of the tool to do the heavy holding.
Selecting stable hardwood scraps for the base and cleats
A bench hook will only cut square if its parts stay flat and true over changing seasons. Wood breathes; it absorbs ambient moisture during humid months and expands across the grain, then shrinks and twists when winter heaters dry the air. Using poorly dried framing lumber or cupped construction pine guarantees that your cuts will drift out of plumb over time. For this reason, material choice matters greatly.
The base board requires a material that remains dead flat across its width. High-grade birch plywood, often called Baltic birch, makes an outstanding base because its alternating cross-laminated veneers cancel out seasonal movement. If you prefer solid timber, choose a quartersawn hardwood such as hard maple, white oak, or beech. Quartersawn boards expand mostly in thickness rather than width, preventing the base from rocking like a seesaw on your bench. For the cleats, choose dense, tight-grained hardwoods that will not dent or mushroom when struck repeatedly by the workpiece or accidental saw teeth contacts.
| Material | Recommended Thickness | Stability Rating | Best Application |
|---|---|---|---|
| Baltic Birch Plywood | 18 millimeters | High | Base board |
| Hard Maple | 20 to 25 millimeters | High | Top fence and bottom cleat |
| European Beech | 20 to 25 millimeters | Medium to High | Top fence and bottom cleat |
| Plain-Sawn Pine | 19 millimeters | Low | Temporary or disposable hooks |
Aim for practical, comfortable dimensions. A base measuring 220 millimeters wide by 300 millimeters long and 18 millimeters thick gives ample support for general joinery work. The top fence should be thick enough to provide a sturdy reference face, typically around 30 millimeters wide and 25 millimeters high. Make the bottom cleat roughly 35 millimeters wide and 25 millimeters thick so it hooks well below the chamfer or radius found on most bench edges.
Squaring the fence to the guide edge with a reliable square
What makes a cut straight? A handsaw cannot think for itself; it follows the path dictated by your body posture and the registered surface against which the wood rests. If your top fence is mounted at 88 degrees instead of exactly 90 degrees to the side of the base, every cut you make with that bench hook will be out of square by two degrees. Over a ten-centimeter board, two degrees translates into an unsightly gap that prevents joints from closing tightly.
Before installing the fence, you must establish one perfectly straight edge along the side of the base board. Woodworkers call this a reference edge. Check it with a precision straightedge. Once that side is flat, set an engineer square or a verified combination square against it. Avoid cheap, uncalibrated stamped-metal squares from general hardware stores, as these are often out of square straight off the rack.
You can check the accuracy of your square with a classic test:
- Press the head of your square firmly against a jointed board with a clean, straight edge.
- Draw a crisp line across the board with a sharp 0.5-millimeter mechanical pencil or a marking knife.
- Flip the square over horizontally so the head faces the opposite direction on the same edge, aligning the blade directly over your original line.
- If the blade reveals any gap between itself and the drawn line, the tool is out of true and should not be used to set your fence.
Clamp your top fence roughly 25 millimeters in from the back edge of the base. Hold the square stock firmly against the reference side of the base, slide the blade against the front face of your fence, and adjust the fence until the square reveals zero light along the joint line. Mark the exact position on the base using a fine-tipped pencil or marking knife so it will not shift when you apply glue.
Joining cleats with glue and countersunk wood screws
The joint between the cleats and the base must withstand both sliding shear forces and constant vibration. Fastening with nails alone is insufficient; they tend to back out under the rhythmic shock of sawing. Relying on glue alone without mechanical fasteners can also fail, especially on plywood end grain where wood glue finds little long-grain purchase. A combination of polyvinyl acetate (PVA) wood glue and heavy steel wood screws provides long-lasting strength.
Saw blades are made of tempered spring steel or tool steel, while screws are made of hardened metal. If a saw tooth bites into an exposed steel screw head during a cut, the saw teeth will dull instantly or chip off entirely. Therefore, every screw must be deeply countersunk below the surface of the timber.
- Drill clearance holes through the cleats. A clearance hole matches the outside diameter of the screw shank, allowing the threads to spin freely through the cleat so the screw head pulls the joint tight.
- Use a countersink bit to carve a conical recess deep enough that the screw head sits at least four to six millimeters below the finished wood surface.
- Clamp the fence along your squared layout lines on the top side of the base.
- Drill smaller pilot holes into the base board, matching the root diameter of the screw threads. This prevents the base from splitting as the screws bite into the grain.
- Spread a thin, even coat of PVA wood glue across the mating faces. Do not apply so much glue that it creates massive squeeze-out along your reference edge.
- Drive three heavy wood screws (such as 4.5 mm by 40 mm countersunk screws) firmly into the fence, checking alignment with your square after tightening each screw.
Repeat this process on the underside of the base to attach the hook cleat at the opposite end. Ensure the bottom cleat runs parallel to the bench edge. Let the glue cure fully for twenty-four hours before subjecting the jig to heavy sawing strokes, as wet glue will allow the cleats to pivot out of square under early mechanical stress.
Cutting the initial saw kerf for repeated accuracy
Once the glue dries, your bench hook looks complete, but it lacks its most useful feature: the saw kerf. A kerf is the channel or slot created by the thickness of the saw blade as its teeth remove wood. Purposely creating a partial kerf through the fence turns the bench hook into an active guide block rather than a simple backstop.
Place the completed bench hook on your bench, dropping the bottom cleat over the front edge. Place a sacrificial board on the base, pressed hard against the fence. Now, align your backsaw (a saw with a stiff brass or steel spine running along the top of the blade) against the fence, positioned roughly 30 millimeters in from the right edge if you are right-handed. This leave-out area gives your saw blade guidance on the left side while supporting the wood firmly beneath it.
Begin a deliberate cut directly down through the hardwood fence. Keep the saw strictly vertical, watching the reflection of the wood in the mirror-bright plate of the blade. If the wood grain and its reflection make a perfectly unbroken, continuous line, your blade is running dead plumb at 90 degrees. Saw down through the fence until the teeth just nick into the base board by half a millimeter, then stop.
This kerf now functions as a visual and mechanical sighting channel for all future work. In subsequent projects, you can drop your pencil line directly over this kerf, bring your saw blade into the notch, and immediately begin cutting with confidence that the blade will track at a clean right angle without wandering across the wood face.
Safe hand placement rules while making crosscuts
Hand tools rarely produce the catastrophic injuries associated with power equipment, but a sharp handsaw jumping out of a cut can easily slash flesh. Proper body mechanics and strict hand placement rules prevent slips while decreasing hand fatigue over hours of joinery work.
Your non-dominant hand has one job: holding the workpiece firmly against both the base and the fence. Never place this hand across the path of the saw blade. The safest method is the knuckle bridge. Place the palm of your holding hand flat against the workpiece, several centimeters to the left of the cut line (for right-handed woodworkers). Extend your fingers so they press the timber back against the fence, while your thumb presses downward into the base board.
Keep your holding hand at least 50 to 75 millimeters away from the cutting line. When you first start a saw cut, do not guide the blade with your thumb nail placed directly beside the teeth. Instead, use the pre-cut kerf in your fence to guide the start, or use a tiny backward pull stroke with the saw held at a shallow angle of roughly twenty degrees to register the cut. Once the teeth seat in the timber, raise the saw to its normal cutting angle, keeping your non-dominant hand parked firmly outside the danger zone.
Stand with your feet spaced shoulder-width apart, your body angled slightly toward the bench rather than facing it square. Your sawing arm should move like a piston in a straight plane directly in front of your shoulder. If your shoulder is out of alignment with the cut, your forearm will naturally torque the saw blade sideways, twisting the kerf, binding the steel, and kicking the workpiece loose from your grip.
Common mistakes to avoid
Even a tool as simple as a bench hook can cause problems if built without care for detail. Look out for these common errors during construction:
- Setting screws too shallow: If countersinks are not cut deep enough, screw heads will sit flush with the surface. As the wooden fence slowly wears down from repeated cuts, your saw teeth will eventually strike the steel screw, ruining the saw's set and sharpness.
- Ignoring base twist: If you use a warped piece of scrap board for the base, the bench hook will rock back and forth on the workbench. This small movement makes every cut inaccurate. Always check your base with winding sticks or against a flat machine table before building.
- Cutting all the way through the base: When sawing workpieces, stop your stroke as soon as the cut separates. Sawing deep into the base board over dozens of projects will eventually cut the bench hook completely in half.
- Over-tightening hand grip: Squeezing the workpiece with excessive force quickly tires out your fingers and pulls the workpiece out of square against the fence. Let the downward and forward motion of the saw press the timber into place.
Next steps for your bench setup
With your basic bench hook completed and checked for square, put it into service on small crosscuts for your next joinery project. Take note of how your hand rests on the stock and adjust your work height if you find yourself hunching over the bench. If the hook slips on a slick benchtop, attach a thin strip of high-friction material, like self-adhesive leather, cork, or coarse emery cloth, to the underside of the base to increase grip without using clamps.
Once you are comfortable using this basic single-sided jig, consider making its companion tools. Many woodworkers build a mirrored version for left-hand cuts, or craft a double-sided bench hook that incorporates a 45-degree guide slot for trimming miter joints. You can also build a dedicated shooting board, which uses the same basic registration principle to guide a hand plane across end grain for glassy, perfectly square joint shoulders.