
A wooden hand plane glides over a board with a softness that cast iron cannot replicate. The timber body absorbs high-frequency vibrations, dampens chatter, and provides direct feedback to your palms as the cutting iron meets the workpiece. Yet, unlike an iron tool ground flat in an industrial factory, a wooden tool remains an organic material. It breathes, moves, and reacts to the environment in your shop. When the bottom face of the plane, known as the sole, develops high spots or hollows, the plane stops taking predictable shavings. Instead of a continuous ribbon of wood, you get skipped strokes, tear-out, or unexpected gouges.
How does a woodworker restore a distorted sole to true flatness? Flattening a wooden body requires a different mindset than tuning metal. If you take an aggressive scrub plane or coarse sandpaper to dry timber without the proper setup, you can easily turn a slight crown into an unrecoverable twist. The process demands a dead-flat reference bed, controlled abrasive sheets, and attention to the internal mechanical pressures created by the wedge and iron. With a methodical sequence, you can bring an antique jack plane or a newly made Japanese smoothing plane back into true alignment in an afternoon.
Why wooden plane bodies twist as seasons change
Why does a block of dense hardwood twist after months of faithful service? The answer lies in the microscopic structure of timber. Wood is composed of hollow, straw-like cells made of cellulose and lignin. These fibers swell as they absorb ambient humidity during wet seasons and shrink as dry indoor heating pulls moisture from them in winter. Because timber dries unevenly across its tangential, radial, and longitudinal axes, movement is rarely uniform. The exterior surfaces lose and gain moisture much faster than the inner core, creating internal stresses that pull the sole out of plane.
Think of a dry sponge placed on a damp counter. The side touching the moisture expands while the top stays dry, causing the sponge to cup upward at the corners. In a wooden plane, this movement manifests in three primary shapes of distortion:
- Twist: Two diagonally opposite corners lift while the other two drop, making the plane rock on a flat surface.
- Cup: The sole curves across its width, causing the middle to lift or bulge away from the stock.
- Bow: The sole curves along its length, creating a banana shape that prevents the iron from maintaining uniform depth across a long stroke.
The grain orientation of the plane stock plays a massive role in this instability. Traditional European planes often rely on quartersawn beech, while Japanese kanna use dense Japanese white oak or red oak. Quartersawn stock is selected because its radial face expands less than flatsawn stock. Even so, internal drying stresses set into the wood decades ago can release when you work in a drafty shop or relocate a tool from a humid basement to an air-conditioned room. Recognizing this movement as normal timber behavior keeps you from fighting the tool and helps you correct it calmly.
Preparing the reference surface using float glass and silicon carbide paper
Before you remove a single shaving or scrap of dust from the sole, you must establish an uncompromising reference surface. You cannot flatten a tool against a surface that is itself crowned or flexible. While granite surface plates ground to laboratory tolerances are ideal, a thick sheet of float glass offers an accessible and reliable alternative for woodworking. Float glass is produced by pouring molten glass onto a bath of molten tin, resulting in a surface that is uniform and flat to within fractions of a millimeter across its face.
Choose a glass panel that is at least 10 millimeters thick, with polished or dubbed edges to prevent cuts. Thin picture frame glass or window panes are entirely unsuitable because they flex under downforce, conforming to your plane rather than forcing the plane to conform to the glass. Support the glass plate on a stiff, flat section of your workbench. To prevent the glass from sliding or cracking under point loads, place a piece of rubber drawer liner or non-slip router mat beneath it.
| Abrasive Grit | Primary Purpose | Timber Removal Rate | Surface Scratch Depth |
|---|---|---|---|
| 120 grit | Initial truing of severe twist or bow | Fast | Heavy, requires progressive cleanup |
| 180 grit | Standard leveling of light seasonal hollows | Moderate | Medium, quickly smoothed |
| 240 grit | Transition stage before final finishing | Slow | Fine, closes wood pores |
| 320 or 400 grit | Final polish for smoothing plane soles | Very light | Microscopic, yields a burnished feel |
Silicon carbide paper, often labeled as wet-or-dry abrasive paper, works best for lapping wood because the grain particles are hard, sharp, and fracture under pressure to expose fresh cutting facets. Cut strips that run down the length of your glass. Fix the paper to the glass with a light mist of aerosol contact adhesive, or lightly dampen the back of the paper with a glass cleaner so that surface tension holds it firmly. Smooth out any trapped air bubbles with a plastic squeegee or a wooden scrap. A single trapped grain of dust or bubble beneath the abrasive sheet will telegraph directly through the paper, grinding a hollow spot into your tool sole.
Setting the wedge and retracted blade to simulate real cutting stress
Can you simply remove the iron and wedge, lay the bare wood block on the abrasive paper, and start sanding? You can, but the sole will not stay flat once you prepare the tool to cut. A hand plane body acts like an open box. When you slide the heavy steel blade down the bed and drive a wooden wedge tight against the retaining abutments, you induce severe internal stress inside the timber cheeks.
This wedging force pushes the cheeks outward and bulges the sole directly behind the blade mouth. If you lap the sole with the iron sitting on your bench, the bottom of the plane will flatten in its relaxed state. Then, when you reassemble the blade and tap the wedge tight for work, the sole will immediately warp downward right at the cutting opening. The mouth will ride heavy on the work, preventing the cutting edge from engaging properly or causing sudden catches.
To avoid this flaw, set the plane exactly as you would for work, but with the cutting edge retracted just past the sole line:
- Inspect the cutting edge to ensure it is ground square and sharp, which helps you sight its position accurately through the mouth.
- Slide the iron and chipbreaker (or sub-blade) into the throat against the bed.
- Insert the wedge and seat it with firm taps from a wooden mallet or brass plane hammer, bringing it to working tension.
- Sight down the sole from the front toe toward the rear heel. Back the iron up by tapping the back end of the plane stock or the iron until the cutting edge disappears slightly inside the mouth opening.
- Confirm with your finger or a straightedge that the edge cannot touch the abrasive, while the tension on the wedge remains tight.
By trapping this internal strain inside the plane during the entire lapping operation, you guarantee that every fraction of timber removed reflects the true working geometry of the tool.
Marking a pencil grid to track timber removal
Wood dust settles rapidly, and freshly abraded timber looks nearly identical to unworked timber. If you push the plane over the abrasive without a visual guide, you will have no idea where the sole makes contact and where it bridges over hollows. Scribing a pencil grid directly onto the wood provides an accurate map of your progress and prevents you from removing more material than is strictly necessary.
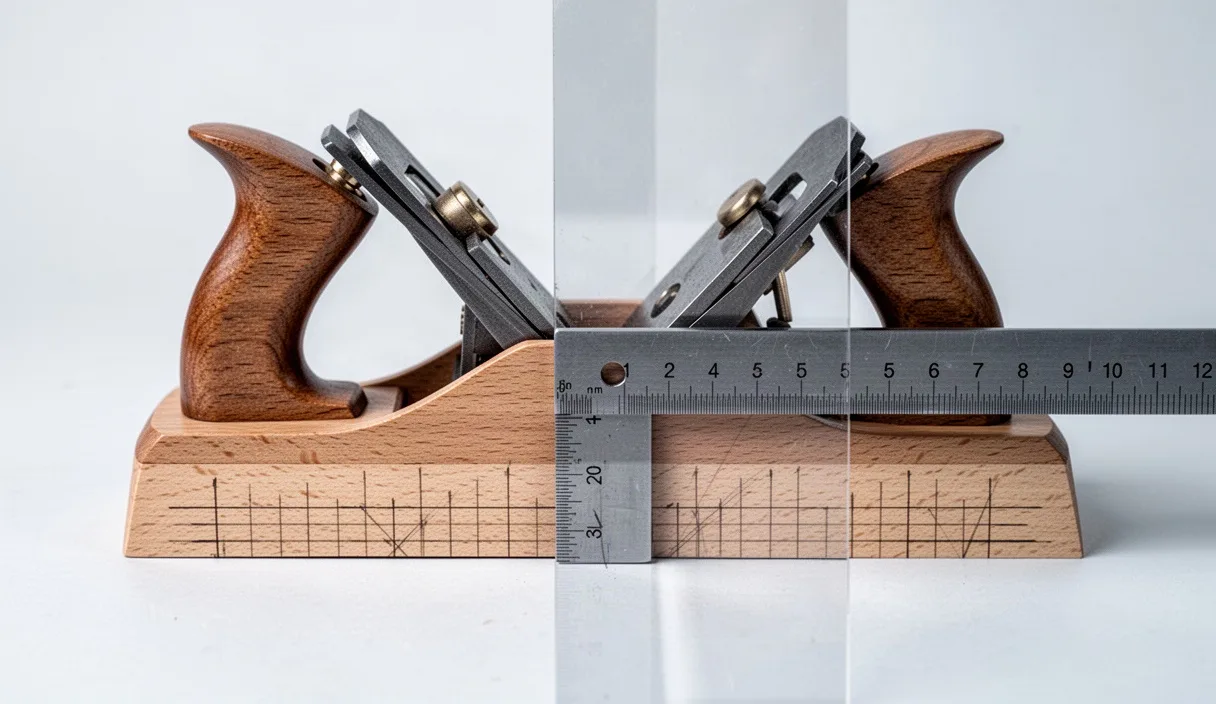
Use a soft graphite pencil, such as a 2B or standard carpenter pencil. A hard lead pencil like a 2H can scratch deep tracks into softer hardwoods, requiring extra sanding just to erase the lines. Draw cross-hatched lines from the front toe to the rear heel. Space the grid lines roughly 10 millimeters apart. Pay careful attention to the delicate bridge of timber directly in front of the blade opening, as well as the edges bordering the escapement opening.
What does this grid tell you during the first passes? When you pass the sole across the silicon carbide paper two or three times, pick the tool up and examine the graphite lines. You will see one of three patterns:
- High spots at the toe and heel: The pencil marks will vanish at the very ends of the plane, while the center remains untouched. The tool is hollow in the middle, or bowed upward.
- High spots at the mouth: The pencil marks will rub off immediately around the blade slot, leaving the toe and heel marked. The plane is humped or crowned.
- Diagonal clearing: The pencil marks will erase at the front-left corner and rear-right corner, leaving the opposite diagonal intact. The plane is twisted.
Never rely on your naked eye to guess when the sole is true. The sole is flat only when a single forward pass over the abrasive clears away a freshly drawn grid evenly across the entire surface. If graphite remains in a low spot that sits safely away from the critical wear zones, you can often leave it rather than grinding down the rest of the body to reach it.
Lapping the sole with balanced hand pressure
Lapping a wooden plane requires deliberate, measured movements. Your hands naturally tend to push downward where they rest: the dominant hand presses down on the rear grip or heel, while the auxiliary hand presses the toe. If you rock your body or lean unevenly into the plane as it moves forward and backward, you will create a crowned, convex sole with rounded ends. The plane will roll through its stroke like a rocking chair.
Hold the plane by wrapping your fingers around the sides, applying downward pressure directly over the mouth and bed area rather than out on the extreme overhangs of the stock. Your downward pressure must remain vertical and centered over the reference glass. Push the plane forward in straight, steady strokes along the length of the abrasive paper. Lift the plane slightly or release downward force on the return stroke, pulling the tool back without dragging it heavy over the grit.
Why avoid aggressive back-and-forth scrubbing? Scrubbing back and forth introduces momentum shifts that cause the toe to dive at the start of the push and the heel to tip downward at the end. That action rounds both ends of the plane. Keep the tool strictly aligned with the abrasive run. Keep the plane moving in the direction of its grain fibers whenever possible, as cross-grain rubbing can tear soft fibers out of old beech or boxwood.
Stop and clean your abrasive sheet frequently. Wooden dust combined with fractured silicon carbide quickly loads the paper, turning it slick. A loaded sheet stops cutting cleanly and instead heats the wood by friction, which can induce temporary heat-expansion warping while you are trying to measure flatness. Sweep the paper clean with a stiff bench brush every six to eight strokes, or wipe the glass with a dry microfiber rag. Reapply your pencil grid each time the high spots disappear, moving from 120 or 180 grit down to 240, and finally finishing on 320 grit once the sole registers flat.
Conditioning the freshly exposed wood against humidity
The moment you finish lapping, you have exposed raw, unoxidized timber fibers to the surrounding atmosphere. These newly uncovered wood pores are thirsty. If left unprotected in an unheated shop or a changing climate, they will absorb atmospheric moisture rapidly, causing the sole to move out of true within forty-eight hours.
A heavy film-forming finish, such as polyurethane, thick lacquer, or shellac, is completely inappropriate for the sole of a hand plane. Film finishes add uneven physical thickness to the surface, alter the clearance of the mouth opening, and create a sticky, rubbery drag as the plane runs across raw hardwood. Instead, wooden plane soles rely on non-film-forming penetrating oils, plant-based waxes, or traditional mineral mixtures that sink directly into the cell walls without building an exterior film.
Boiled linseed oil, pure tung oil, or raw camellia oil are the traditional choices. To seal the freshly flattened sole, follow these steps:
- Wipe the entire sole with a clean, dry lint-free rag to clear away residual abrasive dust and wood powder. Avoid solvent washes like acetone, which dry the timber out excessively.
- Apply a thin coat of oil directly to the sole with a soft rag or brush. Allow the wood to absorb the liquid for fifteen to twenty minutes.
- If the wood drinks the oil quickly and appears dry in certain spots, apply a second light coat specifically to those end-grain or porous areas.
- Wipe the surface firmly with a clean cotton cloth until no wet standing liquid remains on the face. The wood should feel dry and satiny to the touch, not gummy.
- Allow curing oils, like linseed or tung, to dry thoroughly for twenty-four hours in a clean space before storing the tool.
After the oil support, apply a firm paste wax or block paraffin wax to the sole. Paraffin reduces dynamic friction dramatically, cutting the muscular effort required to push the plane through a cut by more than half. Keep a block of paraffin wax or mutton tallow on your bench, and make it a habit to wipe a thin smear across the sole before starting any planing session.
Common mistakes
Even woodworkers with years of experience make fundamental errors when tuning wooden planes. The following issues occur frequently and can ruin hours of careful work:
- Lapping without the wedge in place: Forgetting to tension the blade and wedge guarantees that the sole will warp out of plane the moment you reassemble the tool for cutting.
- Using sandpaper on a soft backing: Attempting to flatten a plane on a wooden benchtop without a certified glass or granite plate means you will follow the benchtop hollows instead of creating a flat line.
- Rounding the toe and heel: Rocking your wrists at the start and end of the stroke turns the sole convex. Keep hand pressure concentrated down over the mouth area.
- Ignoring blade protrusion: Leaving the cutting iron extended past the mouth opening during lapping will ruin the sharp edge against the silicon carbide paper and score grooves into your reference plate.
- Excessive stock removal: Trying to sand out every tiny ding or low spot on an antique plane shortens the body unnecessarily and widens the mouth opening. Only the areas directly supporting the cut need to be co-planar.
Next steps for putting the tool to work
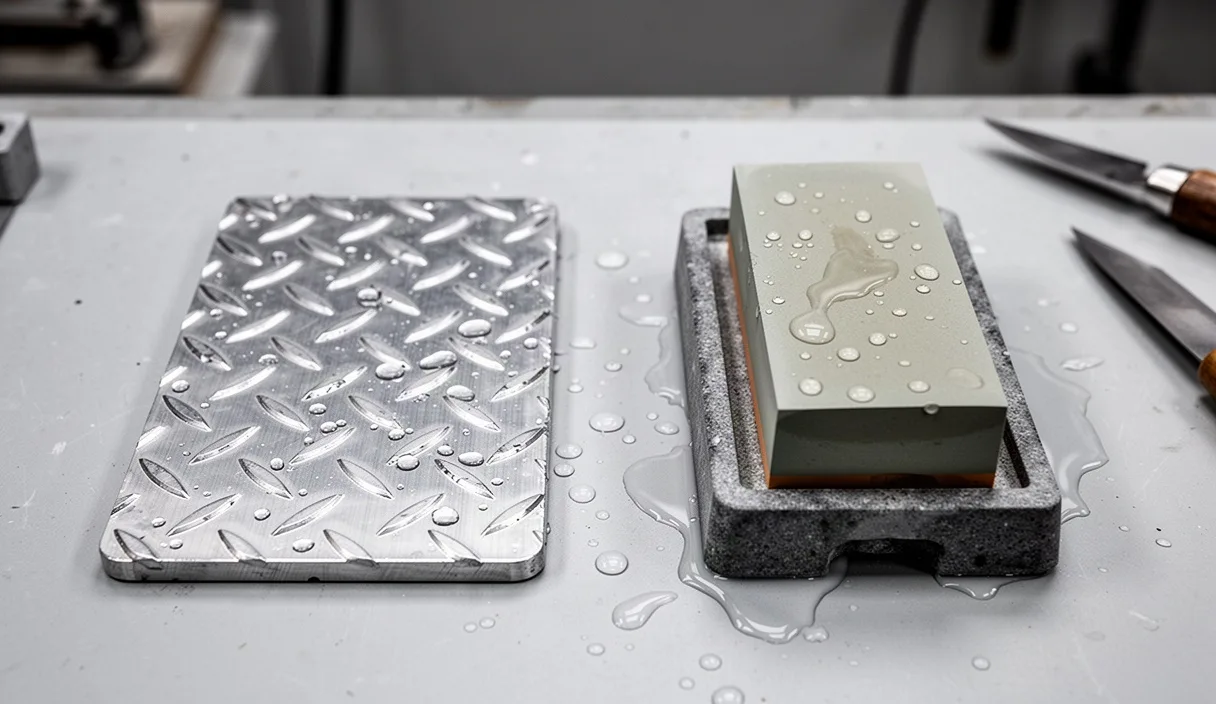
Once the sole is trued and sealed, your plane is ready to return to service. Check your blade edge under a raking light to confirm it received no accidental nicks during the tensioning and flattening procedure. If needed, spend five minutes on your waterstones or oilstones refreshing the primary bevel and polishing the secondary micro-bevel.
Take your newly tuned tool to a straight, stable piece of scrap hardwood, such as cherry, beech, or maple, secured in your bench vise. Tap the iron down gradually until the edge just kisses the wood fibers. Advance the plane with a steady, relaxed stance, driving with your legs rather than simply pushing with your shoulders. When the plane moves without resistance, producing gossamer shavings that match the exact width of the iron without skipping or binding, you will know the sole is true. Store the plane resting on its side on a clean shelf, or hung by its heel from a tool rack, keeping the sole elevated above standing moisture so it holds its flat profile across the changing seasons.