
When you cut a fresh piece of vegetable-tanned leather, the exposed edge looks pale, porous, and covered in loose fuzz. If you leave that edge alone, the fibers catch on clothing, unravel over months of handling, and absorb moisture and body oils unevenly. Edge finishing protects those open borders, but you do not need costly mechanical burnishers, electric heating irons, or bottled chemical mixtures to get a clean result. A scrap of heavy cotton canvas and a small dish of clean water provide everything required to create a smooth, compacted edge that holds up to daily wear.
Why choose water and canvas over synthetic edge paints? Paint forms a separate rubbery film over the surface. Over time, as leather bends and flexes in your pocket or hand, that surface film can peel away from the hide underneath. Burnishing with water and canvas works entirely with the leather itself. Instead of hiding the raw cut beneath a plastic layer, friction and moisture press the leather's own fibers together until they form a dense, smooth wall. The finished edge flexes naturally with the leather and develops a deep, mellow patina over years of use.
What happens to leather fibers under friction
To understand burnishing, it helps to look at the structure of animal hide. Leather consists of millions of interwoven collagen fibers. In vegetable-tanned leather, plant tannins have bound to these protein strands, preserving them while leaving them receptive to moisture and warmth. What happens when you rub these fibers with water? Think of unspun wool being made into felt. When dry wool sits on a table, the strands drift apart. When you add water and rub the wool between your hands, the tiny microscopic scales on each fiber grab onto each other, tangling and compressing into a dense, solid fabric. Leather fibers react to moisture and rubbing in the exact same manner.
Water acts as a temporary plasticizer. It softens the stiff collagen strands so they bend rather than snap under pressure. When you rub a piece of canvas briskly across the damp edge, your motion generates friction. That friction produces localized heat, often warming the edge to around 40 to 45 degrees Celsius (104 to 113 degrees Fahrenheit) in just a few seconds. The combination of moisture, warmth, and physical pressure forces the loose, fraying fibers to twist together and collapse into the empty spaces between them.
There is also a light chemical reaction taking place along the perimeter. Vegetable tannins are soluble in water. As moisture penetrates the surface, it dissolves a small concentration of these tannins. As the friction from the canvas drives off the moisture, the tannins dry into a hardened, glassy matrix that locks the compressed fibers in their new, dense alignment. This explains why burnishing works so cleanly on vegetable-tanned leather, but fails on chrome-tanned leather. Chrome-tanned leather uses mineral chromium salts that do not soften or glue fibers together under friction, meaning the cut remains hairy no matter how long you rub it.
Trimming and beveling corners before applying moisture
A burnished edge is only as smooth as the cut underneath it. If your leather knife wobbled during the cut, or if two glued layers do not sit completely flush, canvas friction will only shine those flaws instead of hiding them. Before reaching for water, inspect the edge under bright, raking light. If you feel any bumps or steps between glued panels, level the edge using 320-grit sandpaper wrapped around a hard wooden block. The wooden block keeps your sanding strokes flat and true. Sanding with bare fingers bends the paper over the edges, rounding the surface unevenly and creating hollows.
Why is beveling mandatory before dampening the hide? If you look at a freshly cut edge from the end, it has two sharp 90-degree corners. When you push down on a flat surface with canvas, those sharp corners have nowhere to go. They squish outward over the face and back of the leather, creating an unsightly lip known as a mushroom edge. An edge beveler has a tiny, grooved blade that shaves off that sharp 90-degree corner at a 45-degree angle. By removing those corners first, you turn a square profile into a gentle trapezoid. When the canvas presses down, the leather rounds inward into a neat, smooth curve instead of flattening outward.
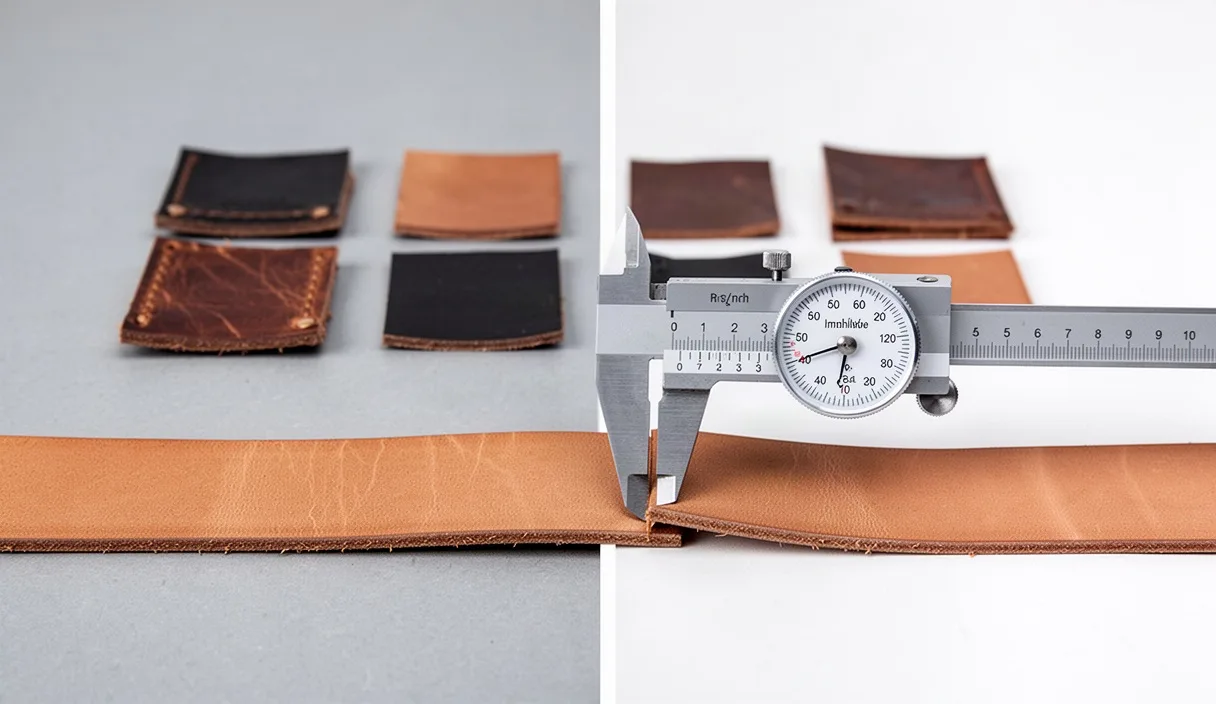
Selecting the right beveler size depends entirely on the thickness of the leather you are working on. Taking off too much material weakens the edge, while taking off too little leaves the sharp corners intact.
| Leather Weight (Ounces) | Thickness (Millimeters) | Beveler Size | Typical Project Use |
|---|---|---|---|
| 2 to 3 oz | 0.8 to 1.2 mm | Size 00 or 0 | Card pocket pockets, watch bands, wallet linings |
| 4 to 6 oz | 1.6 to 2.4 mm | Size 1 or 2 | Notebook covers, clutch bags, passport wallets |
| 7 to 9 oz | 2.8 to 3.6 mm | Size 3 | Heavy knife sheaths, lightweight utility belts |
| 10 to 12 oz | 4.0 to 4.8 mm | Size 4 or 5 | Heavy work belts, horse tack, thick holsters |
Dampening the edge without soaking the core hide
The amount of water you use determines whether you get a glassy shine or a limp, deformed mess. Leather behaves like a dense kitchen sponge. If you dunk a dry sponge in water, it becomes soggy, limp, and squishy. If you try to burnish leather in that waterlogged state, your canvas will crush the leather, pushing the wet edge flat and pushing dirty moisture into the core grain. You want the moisture restricted entirely to the outer fraction of a millimeter of the cut surface, while the core of the leather remains dry and firm to support your hand pressure.
How do you apply just enough water? Dip the tip of your index finger, a wool dauber, or a dense makeup sponge into clean room-temperature water. Wipe off the excess on the rim of the container, then glide the damp applicator along the cut edge. You need only enough water to wet the fiber tips. Do not let water drip down the finished face of the leather, as it can leave dark water rings on unsealed vegetable-tanned grain.
Once the water is applied, wait roughly 30 to 45 seconds. Crafters call this brief waiting period casing the leather. When water first hits the dry cut, the surface turns dark brown and looks wet. As the water sinks slightly into the outer fibers, that wet surface shine disappears. The leather will feel cool to the touch, and its color will lighten back toward its dry shade. That cool, slightly damp stage is the exact moment to start burnishing.
Rubbing with dense canvas using steady pressure
Canvas remains one of the finest burnishing materials available because of its structure. Plain cotton duck canvas, especially weights between 10 ounces and 14 ounces per square yard, features a tight, pronounced grid weave. The textured cotton ridges grab the leather fibers with just enough resistance to produce friction quickly, while the natural softness of the cotton prevents scratching. Synthetic materials like polyester or nylon should be avoided; they slip across the surface without creating friction, and the heat can cause synthetic fibers to melt and stick to your project.
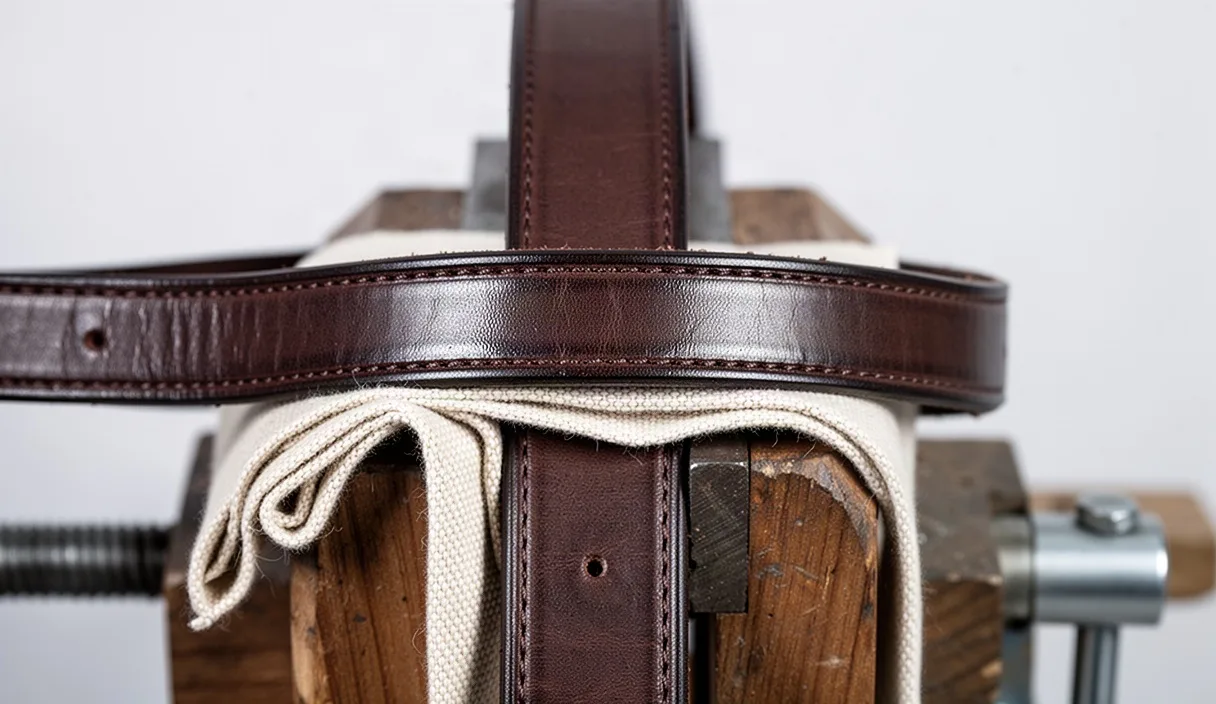
Fold your piece of canvas into a compact pad about two inches square, or wrap a single layer snugly around your index finger. Rest the cloth over the edge so it drapes slightly over both beveled shoulders, forming a shallow U-shape.
- Keep the project stationary: Lay the leather flat near the edge of a sturdy workbench, or clamp it in a wooden stitching pony. If the project bends or flaps while you rub, you will round off the edges inconsistently.
- Focus on short sections: Work on a span of roughly three to four inches at a time. Trying to burnish an entire 40-inch belt strap in single long passes dissipates heat before the fibers can bond together.
- Use light to medium pressure: Heavy downward force will mushroom the edge, no matter how well you beveled it. Let the canvas do the work. Press down only hard enough to maintain contact with the contour of the leather.
- Maintain high rubbing speed: Move your hand back and forth rapidly, making about three or four strokes per second. Speed generates the heat needed to melt the tannins and compress the fibers.
Listen closely as you rub. When you begin, the canvas will drag quietly and feel rough against your fingers. After 15 to 20 seconds of rapid rubbing, the drag will suddenly lessen, and the cloth will glide smoothly. You will hear a distinct, crisp zipping sound as the canvas crosses the hardened surface. When you hear that sound, stop rubbing that section. Inspect the edge: it should look smooth, unified, and slightly darker than the face of the leather.
Sealing the compacted edge with natural beeswax
Friction and water compact the fibers, but water-soluble tannins remain vulnerable. If an edge finished only with water gets caught in a rain shower, or if sweat from your hands touches it repeatedly, the moisture will dissolve those surface tannins again. The fibers will swell, stand up, and return to a fuzzy state. To make your work permanent, you must seal the compacted perimeter against outside moisture.
Natural beeswax is the classic sealant for this technique. Beeswax is hard enough at room temperature to form a tough protective shell, yet flexible enough not to chip or flake when a wallet or strap bends. Synthetic paraffin waxes are often too brittle and crumble under stress, while soft wax pastes can leave a greasy residue that collects pocket lint.
Take a solid block of pure beeswax and rub it lightly along the burnished edge. You do not need a thick, heavy layer. Pass the block over the leather two or three times until you see a faint, cloudy film across the surface. If the wax is cold and skips across the edge, warm the wax block in your hands for a minute before applying it.
Now pick up your canvas again, finding a fresh, clean fold on the fabric. Rub the waxed edge briskly using very light pressure. You are not trying to push the wax around; you are using quick friction to raise the temperature of the surface past the melting point of beeswax, which sits around 62 to 64 degrees Celsius (144 to 147 degrees Fahrenheit). The heat liquefies the wax, drawing it deep into the microscopic voids between your compacted fibers. As it cools a few seconds later, it solidifies into an invisible, water-repellent seal. Finish by buffing the edge with a clean piece of cotton flannel or canvas for ten seconds to bring out a clean satin luster.
Troubleshooting mushy edges and uneven dull spots
Even with careful preparation, edges do not always turn out completely smooth on the first attempt. Variations in hide density, moisture balance, and hand pressure can create unexpected flaws. Fortunately, because vegetable-tanned leather is so workable, almost every edge flaw can be corrected without throwing out the piece.
If your edge feels mushy and spreads out into a mushroom shape, the leather was soaked with too much water, or you pressed down with too much downward force. To fix this, stop working immediately. Let the leather dry completely on a flat table for roughly an hour. Once the core is dry and rigid again, pass your edge beveler along the splayed lip to remove the excess flared leather. Smooth the flat surface with 400-grit sandpaper on a wooden block. When you reapply water, use half as much as before, wait for the dark sheen to dry back to a casing state, and rely on rubbing speed rather than heavy hand pressure.
If the edge remains dull, hairy, or refuses to compact, you are usually dealing with one of two issues: dry friction or low-density leather. If you did not apply enough water, the fibers will simply snap off under the canvas instead of curling together, leaving a rough texture. Re-dampen the edge slightly and try again. If the leather comes from the belly of the animal, the underlying fiber structure is loose, wavy, and spongy. Belly leather rarely burnishes with water alone. In that situation, you may need to apply a tiny drop of gum tragacanth or dilute gum arabic to provide the binding strength that the loose belly fibers lack.
Uneven, patchy spots, where one inch is glassy and the next inch is dull, point to inconsistent sanding or uneven canvas coverage. If low spots sit along the edge, the canvas bridges across them without making contact. Take a strip of 600-grit sandpaper, wrap it around your sanding block, and sand along the entire length until the surface is uniform. Re-dampen the entire run evenly with a single swipe of your sponge, and burnish the entire length using overlapping four-inch strokes.
Common mistakes
Small errors during preparation frequently lead to disappointing edges. Keeping these common pitfalls in mind will save you time and preserve your material:
- Trying to burnish chrome-tanned leather: Garment, upholstery, and oil-tanned leathers will not compress under water and canvas. If your project uses chrome leather, turn the edges over, sew them, or finish them with dedicated edge paint instead.
- Using a dirty canvas scrap: Canvas collects leather dust, dried tannins, and melted wax. If you use a rag covered in dark wax on a piece of pale, natural leather, the heat will transfer the grime and permanently stain the project. Keep separate canvas rags for natural, brown, and black hides.
- Sanding back and forth with coarse paper: Vigorous scrubbing with coarse 80-grit or 120-grit sandpaper tears leather fibers out by their roots, leaving deep gouges that water cannot swell shut. Always sand in one direction toward the grain, and step up your grits progressively from 320 to 400 and finally 600 before dampening.
- Over-waxing the leather: Smearing a thick paste of wax over the edge before friction creates a gooey sludge that gums up your canvas and dulls the shine. A light trace of solid wax is all that is needed to seal the pores.
Practical next steps for cleaner edges
Edge burnishing is a muscle-memory skill developed through repetition rather than complex tools. Before starting on a completed bag, wallet, or belt, take three or four offcuts from the exact same hide you plan to use for your final project. Practice beveling the corners cleanly in one continuous ribbon of leather. If your tool pulls or skips, sharpen the blade on a leather strop loaded with polishing compound until it glides through the hide without snagging.
Experiment with moisture levels on those scrap pieces. Dampen one scrap lightly, saturate another scrap heavily, and burnish both with your canvas. Observing how the leather reacts to differing amounts of moisture will teach you more about casing than any manual can describe. Once your hands recognize the sound of compacted fibers and the feel of wax flowing into the pores, apply the technique to your primary project. For delicate antique restorations or historically significant items where the leather chemistry may be unstable, consult an experienced leather conservator before applying moisture or friction to original materials.