When you hold a handmade wallet, the first thing your fingers register is not the saddle stitch or the maker mark. It is the heft and profile of the piece. If the leather is too thick, a simple folding cardholder ends up feeling like a brick of stiff cardboard in your pocket. If the hide is too thin, the pockets stretch out after three days of use, dropping cards every time the wallet is inverted. Small leather goods demand precision because small errors multiply quickly across tightly packed seams.
Selecting the right hide thickness is a balancing act between structure and volume. Every pocket, liner, and exterior panel adds physical mass to your project. Understanding how to measure, calculate, and adjust that mass before cutting into an expensive side of leather will save you hours of bench work and scrap bin frustration. Once you learn how weight, temper, and layer stacking interact, you can make deliberate choices that produce clean, durable goods.
Demystifying leather weights: ounces, millimeters, and irons
Why does the leather industry measure thickness in ounces instead of linear measurements? The practice dates back to commercial tanneries weighing hides per square foot. In North American leathercraft, one ounce represents the weight of one square foot of hide, which equals exactly 1/64 of an inch, or roughly 0.4 millimeters. Therefore, when a tannery labels a hide as 4 oz, that piece of leather measures approximately 1.6 millimeters in thickness.
In metric-based regions, tanneries skip the imperial conversion entirely and measure leather strictly in millimeters. Meanwhile, traditional shoemakers and European bookbinders often measure in irons, where one iron equals 1/48 of an inch, or approximately 0.53 millimeters. While irons are rarely used for modern wallet making, encountering the term on imported hide tags can cause confusion if you expect ounces or millimeters.
Because leather is an organic material grown on an animal, it is never perfectly uniform from neck to butt. For this reason, tanneries sell hides within fractional weight ranges rather than flat numbers. A hide labeled 3/4 oz will fluctuate between 1.2 and 1.6 millimeters across different sections of the skin, with the tightest, most consistent density found in the bend and double shoulder areas.
| Ounce Weight (oz) | Thickness in Millimeters (mm) | Thickness in Inches (in) | Common Small Goods Application |
|---|---|---|---|
| 1.5 to 2.0 oz | 0.6 to 0.8 mm | 1/42 to 1/32 in | Lining leather, turned edges, hidden pocket backs |
| 2.5 to 3.0 oz | 1.0 to 1.2 mm | 5/128 to 3/64 in | Visible card pockets, minimalist slip cases |
| 3.5 to 4.0 oz | 1.4 to 1.6 mm | 7/128 to 1/16 in | Bifold exteriors, cardholder main bodies |
| 4.5 to 5.5 oz | 1.8 to 2.2 mm | 9/128 to 11/128 in | Passport covers, journal sleeves, rugged clutches |
Evaluating temper: soft, semi-firm, and rigid hides
What is temper, and why does it matter as much as physical thickness? Temper describes how pliable or stiff a piece of leather feels in your hands, completely independent of how thick it measures on a caliper. Think of the difference between a linen handkerchief, a piece of cardstock, and a wooden ruler. All three can be manufactured to a thickness of one millimeter, but each behaves completely differently when you try to fold it.
Hides generally fall into three temper brackets:
- Soft temper: Pliable and supple with little internal resistance. Chrome-tanned upholstery hides, deer suede, and milled vegetable-tanned leathers fall into this bracket. A soft leather will drape over your fingers. If you make card pockets out of thin, soft-temper leather without reinforcement, the slots will sag and lose their grip over time.
- Semi-firm temper: Flexible, but it springs back toward its flat state when bent. Most traditional vegetable-tanned shoulders and calfskins carry a semi-firm temper. This is the baseline standard for wallets, as it provides enough crispness to hold its shape while allowing card slots to release contents smoothly.
- Rigid temper: Stiff, dense, and resistant to bending. Heavy harness leather, English bridle, and sole leather sit here. Rigid hides excel at holding structure without stretching, but if they are used too thick on small goods, folding the piece can cause the grain to crack or buckle on the inside fold.
You can use temper to manipulate physical bulk. If you need a slender pocket structure that retains clean geometry, you might choose a rigid 2.0 oz leather instead of a semi-firm 3.0 oz hide. The stiffer, thinner hide provides the same structural backbone at two-thirds of the total thickness, keeping your finished build slim.
Matching leather weights to card pockets and wallet liners
The interior of a billfold or card case is where excess thickness does the most damage. Consider a standard vertical card pocket: you have a front pocket wall, a middle T-pocket, and a lower base pocket. If you cut all three pieces from 3.5 oz (1.4 mm) leather, the stack alone measures over 4.2 millimeters before you even introduce glue, thread, or the back panel. Once filled with plastic cards, the wallet becomes uncomfortably thick.
For interior card pockets that sit flat, the ideal thickness range is 2.0 to 2.5 oz (0.8 to 1.0 mm). At this weight, the grain provides enough abrasion resistance to handle cards sliding in and out thousands of times, while the flesh side stays thin enough to compress under stitch pressure. If you are creating stepped T-pockets, where the lower wings are hidden beneath the lower tier, skiving the concealed tab down to 1.5 oz (0.6 mm) prevents an unsightly ridge from telegraphing through the leather above it.
Wallet liners require an even thinner profile. A leather lining covers the rough flesh side of your exterior panel, giving the cash slot a smooth finish. Because the liner is fully supported by the hide it is glued to, it does not need structural strength of its own. Look for lining calf, pigskin, or split vegetable-tanned leather between 1.2 and 1.8 oz (0.5 to 0.7 mm). Any heavier, and the interior will resist folding, creating interior wrinkles when the wallet closes.
Choosing exterior hide thickness for billfolds and notebook covers
The outer shell of a small leather item has a protective job. It shields the delicate interior pockets from friction, bears the strain of being carried in pockets or bags, and absorbs hand oils over years of use. For classic bifold wallets, the sweet spot for an exterior hide is 3.5 to 4.5 oz (1.4 to 1.8 mm). This range provides enough substance to feel solid in hand while still curving neatly around the interior pockets without creating tension along the spine.
Notebook covers, field note sleeves, and passport wallets require a slightly different approach. Because these goods contain fewer internal layers, the exterior hide often does all the work of keeping the notebook straight. For an unlined passport or notebook cover, a semi-firm leather between 4.5 and 5.5 oz (1.8 to 2.2 mm) works best. The added mass protects the soft paper pages inside from getting dog-eared in a coat pocket or travel pack.
If you prefer a fully lined notebook cover, drop the exterior thickness down to 3.0 or 3.5 oz (1.2 to 1.4 mm) and mate it with a 1.5 oz (0.6 mm) lining hide. Two thin layers laminated together with water-based contact cement will produce a more rigid, resilient panel than a single unlined layer of the identical total thickness, while offering finished grain on both sides.
Calculating total seam thickness across multiple folded layers
Before making a single cut, calculate the combined thickness of the thickest seam in your pattern. Hand-stitching irons and sewing machine needles both have limits. When a seam exceeds 4.5 millimeters, hand-punching chisels struggle to pierce straight through both sides without skewing the exit holes, and sewing machines will begin skipping stitches or breaking needles.
Let us look at a practical example: a standard six-pocket bifold wallet with an exterior, an interior back panel, and two tiers of card pockets on each side. Along the bottom edge seam, you must join:
- Exterior shell: 3.5 oz (1.4 mm)
- Interior back panel: 2.5 oz (1.0 mm)
- Bottom card pocket front: 2.0 oz (0.8 mm)
- Bottom card pocket back base: 2.0 oz (0.8 mm)
- Total dry seam stack: 4.0 mm
Notice that we have not accounted for glue films or thread compression yet. When contact cement is applied to both mating surfaces of three joints, the adhesive adds roughly 0.2 to 0.3 millimeters to the overall stack. Suddenly, your 4.0 mm seam measures 4.3 mm. If you have an edge wrapped around a reinforcement strip, that number climbs even higher. By running this calculation during the design phase, you can spot problem areas and reduce the weight of internal pieces before assembly begins.
Skiving edge margins to reduce bulk along stitch lines
What can you do when your design demands five layers of leather along an edge, but you refuse to end up with a swollen, clumsy rim? You skive the margins. Skiving is the process of shaving down the flesh side of leather along the border to reduce its thickness while leaving the center panel at full weight for strength.
Effective edge skiving requires a sharp tool, steady blade control, and a flat work surface like plate glass or polished granite. Follow this process to feather your edges:
- Prepare the blade: Hone your skiving knife or French edger on a leather strop loaded with polishing compound until it pushes cleanly through scrap leather with zero tugging. A dull skiving tool will catch on the fibers, tear the hide, and punch through the grain side.
- Mark your margin: Use a scratch awl or wing divider to trace a light guide line on the flesh side, usually 6 to 10 millimeters in from the outer edge. This keeps your skived bevel uniform along the entire perimeter.
- Set the bevel angle: Place your knife near the inner margin line at a low angle, roughly 15 to 20 degrees relative to the flat stone. Push the blade forward along the grain in short, controlled slicing strokes rather than trying to take off the whole strip in one pass.
- Feather to target thickness: Remove thin, ribbon-like shavings until the outer edge drops by approximately half its original thickness. For instance, a 2.0 oz (0.8 mm) pocket edge should feather down to roughly 1.0 oz (0.4 mm) right where the needle will pass through.
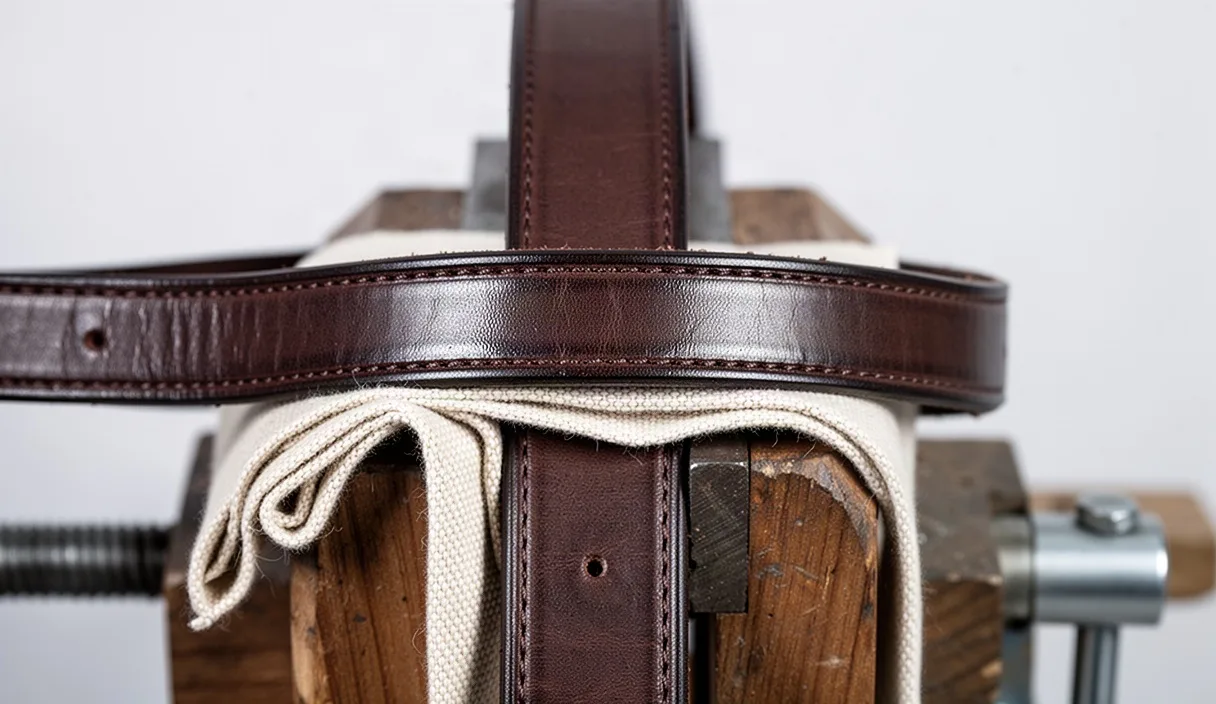
When two skived edges are glued together face-to-flesh, their combined thickness equals that of a single unskived layer. The perimeter becomes sleek, the stitching lays flat in the groove, and burnishing the final edge takes less sanding time.
Common mistakes
One frequent mistake is choosing leather based entirely on how attractive the grain looks on the sales rack while ignoring temper. A gorgeous 3.0 oz vegetable-tanned tooling hide might seem ideal for card pockets, but if the hide came from a belly, its loose fiber structure will stretch out permanently within weeks. For structural interiors, always cut from dense double shoulders or bends.
Another error is skiving the perimeter too aggressively. If you feather the edge down past 0.3 millimeters, you risk slicing into the dermis layer. This weakens the grain, causing the thread to rip through the edge when you pull your stitches tight. Never skive thinner than the diameter of the thread you plan to sew with.
Makers also run into trouble by neglecting how glue affects stiffness. Applying thick coats of solvent-based cement across the entire surface of every pocket layer turns an otherwise flexible assembly into an unyielding block. Apply adhesive only within the 3-to-4 millimeter seam margin along the perimeter of pocket layers, leaving the pocket bodies free to flex.
Practical next steps for your next build
To improve your leather selection on your next project, follow these actionable steps at your workbench:
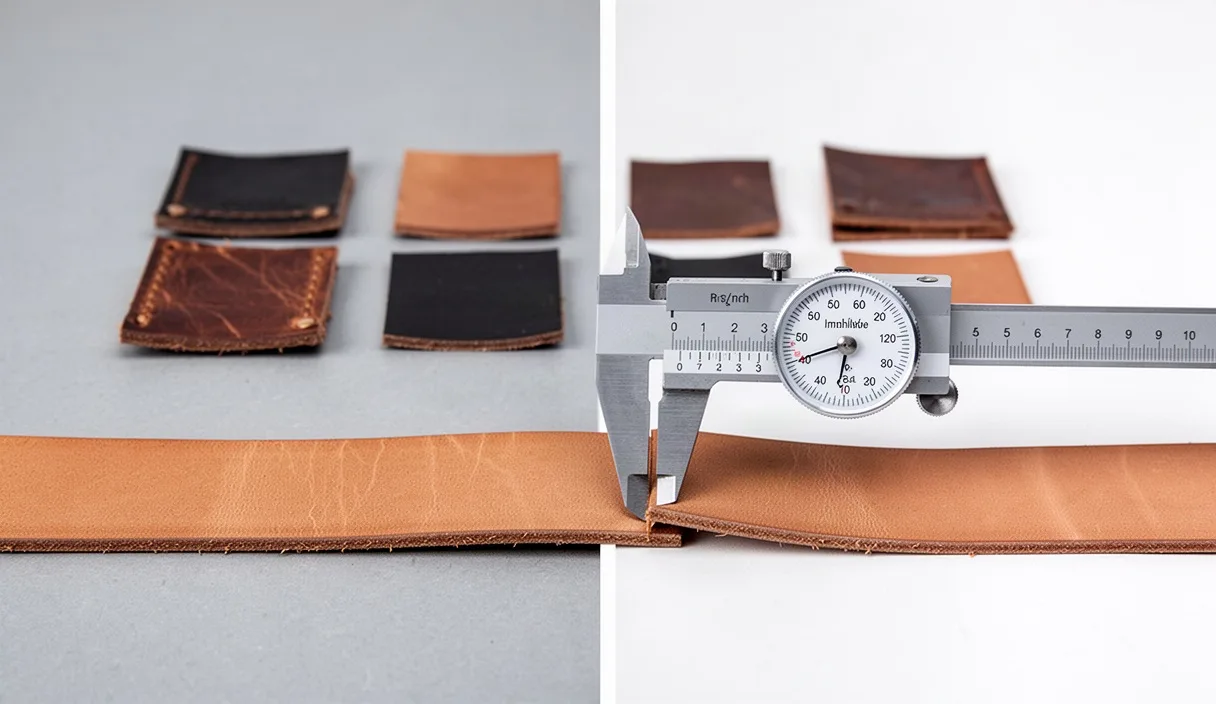
- Audit your scrap bin with calipers: Pull out six scraps of varying tannages and measure each with a digital or dial caliper. Write the thickness directly on the flesh side with a soft pencil. Spend ten minutes flexing them to connect physical feel with measured millimeter readings.
- Build a cardboard paper mockup: Cut your proposed pattern out of heavy paper or thin index cards. Stack the layers, hold them with binder clips, and test inserting credit cards. This reveals bulk bottlenecks before you cut hide.
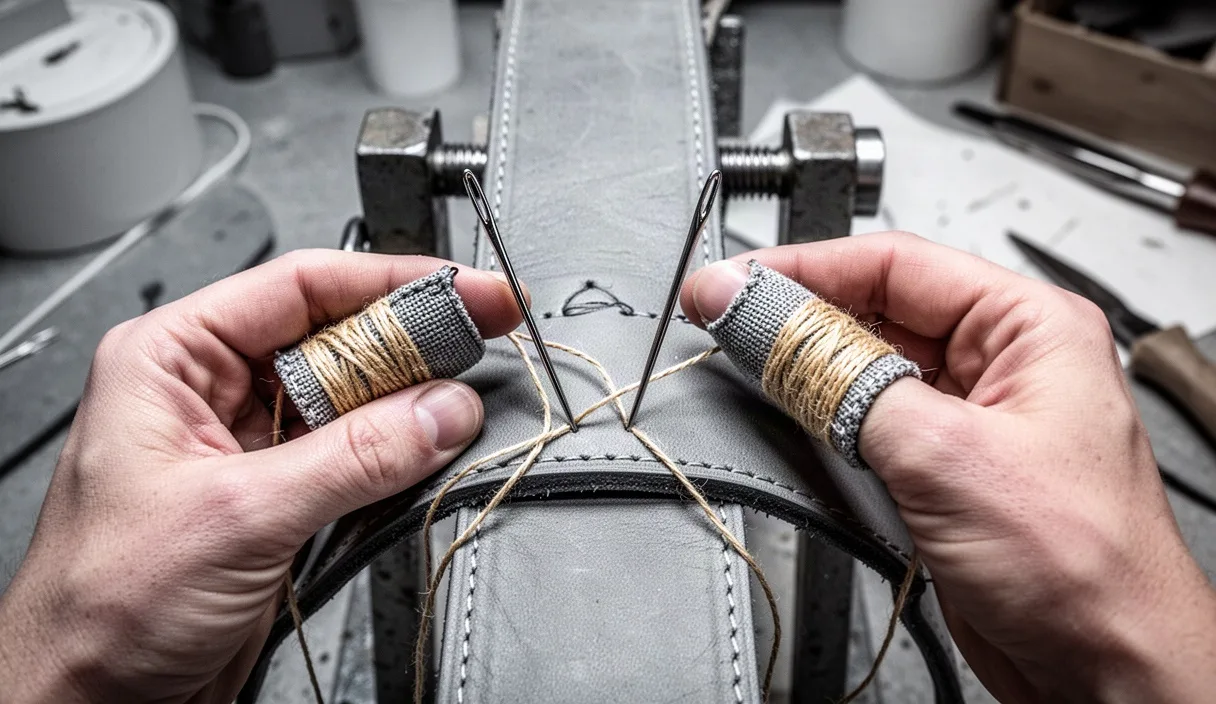
- Make a test seam sandwich: Before assembling a multi-layer billfold, cut one-inch wide strips of your exterior, liner, and pocket leathers. Skive the edges as planned, glue them together, punch sewing holes, and run five saddle stitches through the stack. Inspect the profile to verify that the seam thickness matches your expectations.
If you plan to purchase hides from an unfamiliar tannery or online distributor, order small sample swatches first. Seeing the temper, measuring the real-world weight, and testing an edge skive on a sample swatch is the most reliable way to ensure the leather matches your build requirements.