
A timber frame stands on its joinery. When two pieces of wood meet at a right angle, a simple butt joint held with nails or screws tends to loosen under weight and movement. Wood expands and contracts across its grain as humidity changes through the seasons. Over time, mechanical fasteners pry free from the soft fibers, and the structure begins to lean. To build a chair, a table, or a door that remains rigid across decades, you need an interlocking mechanical connection that shares physical loads across broad wooden surfaces.
The mortise and tenon is that connection. In simple terms, a mortise is a cut slot or hole in one component, while a tenon is a carved tongue on the end of another component shaped to fit snugly into that hole. Cutting this joint entirely by hand requires patience and sharp steel, but the process does not depend on mystery or luck. It relies on a predictable sequence of layout marks, chisel strikes, and saw cuts that anyone can master in a home workshop.
Why the mortise and tenon resists racking forces
Why does a wooden table stay upright when someone pushes it sideways? The force pushing against the side of a table is called racking. Racking occurs when lateral pressure tries to distort a square or rectangular frame into a skewed parallelogram. Think of a rectangular cardboard box without packing tape: if you push gently on one top corner, the corners pivot and the whole box folds flat against the floor. A butt joint fastened with screws behaves the same way when subjected to daily weight because the screw acts as a single pivot point.
The mortise and tenon defeats racking by locking wood fibers deep inside another piece of wood, much like driving a deep fence post into compacted earth. When you insert a tenon into a mortise, the broad, flat faces of the tenon (called the cheeks) press directly against the interior walls of the mortise. If an external load tries to tip the vertical leg, the horizontal rail cannot tilt because its long wooden tongue is trapped within the walls of the slot. The wood itself must crush or snap before the joint can pivot.
The joint also maximizes long-grain glue contact. Wood glue adheres poorly to end grain, which acts like a bundle of hollow drinking straws sucking moisture away from the joint line. A tenon, however, brings side-grain face to side-grain face inside the slot. When glue support between these parallel grain surfaces, the chemical bond is often stronger than the surrounding natural wood fibers.
Sizing the joint: the rule of thirds for stock thickness
How thick should you make the tenon? If the tenon is too thin, it will snap under downward weight like a brittle cracker. If the tenon is too thick, the mortise walls on either side of the slot will become thin slivers that split outward when you assemble the piece. Over centuries of trade practice, cabinetmakers established a practical balance known as the rule of thirds.
The rule of thirds divides the thickness of the workpiece into three equal segments. If you are joining a rail made from 21 mm thick stock into a leg, the tenon should be 7 mm thick. That leaves 7 mm of solid timber on each side of the mortise slot, giving equal strength to both components. Because hand chisels come in fixed factory widths, you will usually match your tenon thickness to your closest available mortise chisel rather than hunting down an odd measurement. If your timber is 19 mm thick and your nearest chisel is 6 mm wide, size the joint around that 6 mm chisel.
| Stock Thickness | Tenon Thickness | Chisel Size to Use | Minimum Tenon Length |
|---|---|---|---|
| 18 mm (approx. 3/4 in) | 6 mm (approx. 1/4 in) | 6 mm mortise chisel | 25 mm to 30 mm |
| 24 mm (approx. 1 in) | 8 mm (approx. 5/16 in) | 8 mm mortise chisel | 35 mm to 40 mm |
| 30 mm (approx. 1 1/4 in) | 10 mm (approx. 3/8 in) | 10 mm mortise chisel | 45 mm to 50 mm |
| 36 mm (approx. 1 1/2 in) | 12 mm (approx. 1/2 in) | 12 mm mortise chisel | 50 mm to 60 mm |
Tenon length depends on the width of the receiving leg or stile. As a baseline, aim for a tenon length equal to two-thirds or three-quarters of the receiving timber depth for a blind mortise (a mortise that does not pass all the way through). Always leave at least 6 mm of extra depth at the bottom of the mortise so that excess glue has room to collect without hydraulic pressure pushing the joint open during assembly.
Scribing layout lines with a two-pin mortise gauge
Layout errors compound quickly when working with hand tools. If your mortise is shifted slightly left and your tenon is shifted slightly right, the surfaces of your finished furniture will not sit flush. To prevent this, woodworkers use a two-pin mortise gauge, which scribes two parallel incisions at the exact width of your chisel in a single physical movement.
Before touching gauge to wood, choose a reference side on each workpiece: your face side and face edge. Mark them with traditional cabinetmaker cabinet marks, like a pencil loop and a small caret. Every measurement and gauge fence setting must reference these exact surfaces. If you reference from the front of the leg but the back of the rail, any slight variation in board thickness will throw the joint out of line.
- Set the distance between the two pins of the gauge using the cutting edge of your mortise chisel, not a ruler. Place the chisel tip between the pins and adjust the thumbscrew until both points lightly touch the outer corners of the tool steel.
- Lock the pin spacing, then set the fence distance so the cut falls centered across the thickness of your wood stock.
- Press the brass fence firmly against the reference face of the mortise piece. Angle the gauge slightly trailing the pins so they drag cleanly without digging or chattering through the grain.
- Scribe the mortise boundaries across the length of the joint. Scribe twice with light pressure rather than forcing a deep groove on the initial pass.
- Without altering the gauge setting, move immediately to the rail. Register the fence against the rail reference face and scribe the tenon cheeks on both sides and across the end grain.
Chopping the mortise slot squarely without bruising edges
Why do woodworkers chop the mortise before sawing the tenon? A mortise slot is rigid and cannot be adjusted in size easily without widening the cavity unevenly. A tenon, however, is exposed timber that can be shaved down with a hand plane or chisel by paper-thin shavings. You always cut the fixed cavity first, then fit the tongue to match it.
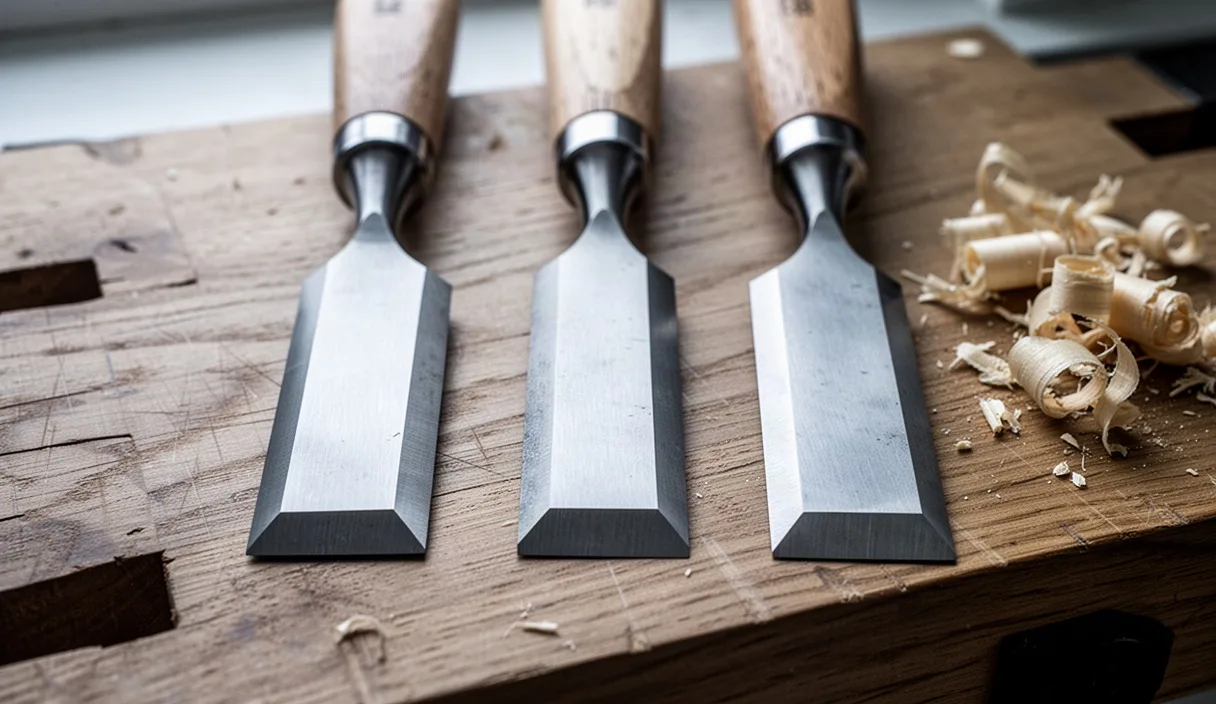
Use a dedicated mortise chisel for this work. These chisels, sometimes called sash or pigsticker chisels, feature thick, rectangular steel cross-sections designed to withstand heavy blows from a wooden mallet and to resist bending when prying chips out of the trench. Bench chisels have beveled, thin edges that can distort or snap under heavy mortising mallet blows.
Begin 3 mm inside one of your layout end lines, never on the line itself. If you drop the flat back of the chisel directly on the layout line at the start, the tapered bevel forces the tool backward into the finished edge, crushing the rim of your joint. Keep the chisel perpendicular to the board face. Stand directly behind the chisel handle and align your body so your shoulder looks down the length of the mortise trench. This helps you visually detect if the tool leans left or right.
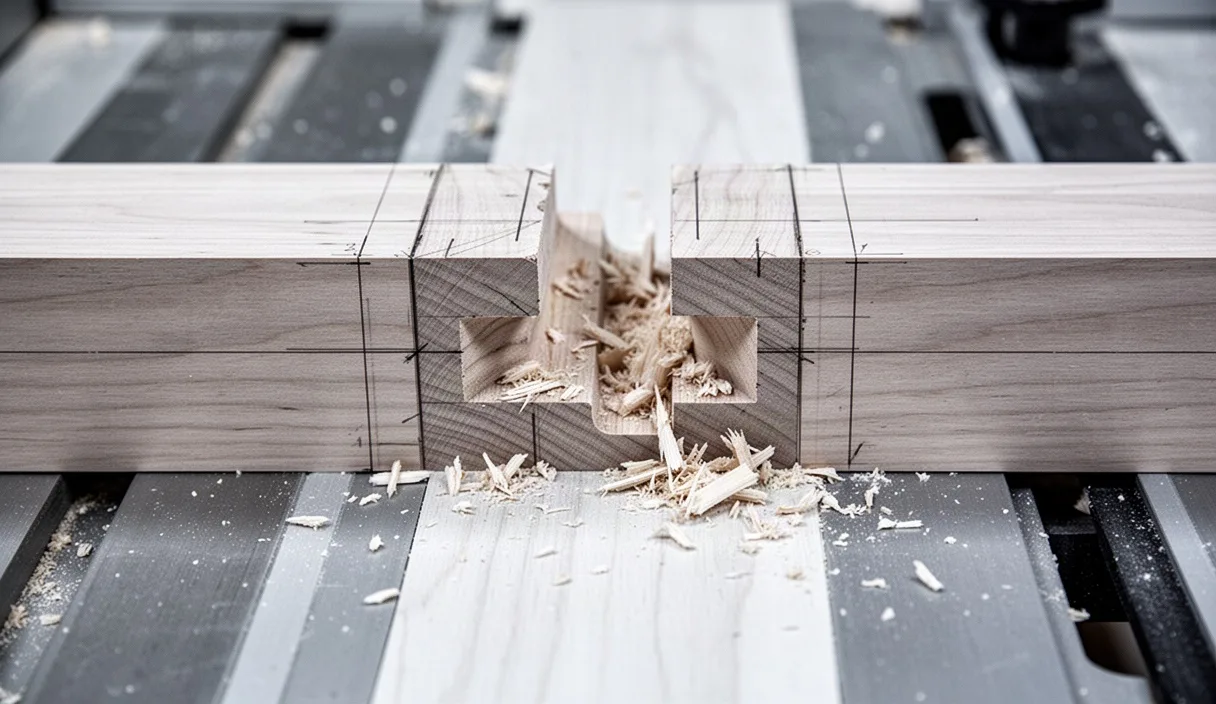
Strike the chisel sharply with your mallet, sink the edge 4 mm to 6 mm, remove the tool, and step backward along the trench by 3 mm to 4 mm. Drive the chisel down again. The wedging action of the bevel pops wooden chips upward. Move incrementally along the joint until you reach 3 mm before the opposite end line. Turn the chisel around so the bevel faces the opposite direction, lever out the loose core chips, and repeat the process deeper down. Once you reach your target depth, place the chisel back precisely in your knife lines at the ends and make final vertical shearing cuts to clear the corners without bruising the upper lip.
Sawing tenon cheeks and shoulders with a backsaw
The tenon requires two distinct saw cuts: cheek cuts down the length of the grain (rip cuts) and shoulder cuts across the grain (crosscuts). A backsaw, such as a tenon saw or a carcase saw with a rigid brass or steel spine, prevents the thin saw plate from bending as you push through the timber.
Secure the rail upright in your bench vise with the end grain facing you. Tilt the timber away from you at an angle of roughly 45 degrees. Place your saw on the waste side of the scribed line. Never place the teeth in the middle of your layout mark, because the saw kerf (the slot of waste removed by the thickness of the blade teeth) will leave your tenon loose and undersized.
- Start the cut on the corner closest to you, drawing the saw back lightly to create a starting notch, then push forward using the full length of the blade.
- Saw down the front face following your scribed vertical line, stopping when you reach the shoulder line. Do not cut down the back edge yet.
- Tilt the rail toward you in the vise, reversing the angle. Align your saw blade into the kerf you just established at the tip, and cut down the opposite side along that layout line until you hit the shoulder.
- Set the board vertical in the vise. Join the two kerfs across the center of the end grain and saw straight down until the blade reaches both shoulder lines evenly.
- Repeat these steps for the opposite cheek.
To cut the shoulders, lay the timber flat on your workbench against a bench hook. Place a wide chisel in your layout knife line and gently pare a miniature triangular trough on the waste side. This trough forms an absolute wall for the teeth of your crosscut backsaw to rest against. Hold the saw flat, register the blade against that wooden wall, and saw across the cheek waste until the waste block drops off cleanly.
Trimming shoulders for a light, gap-free friction fit
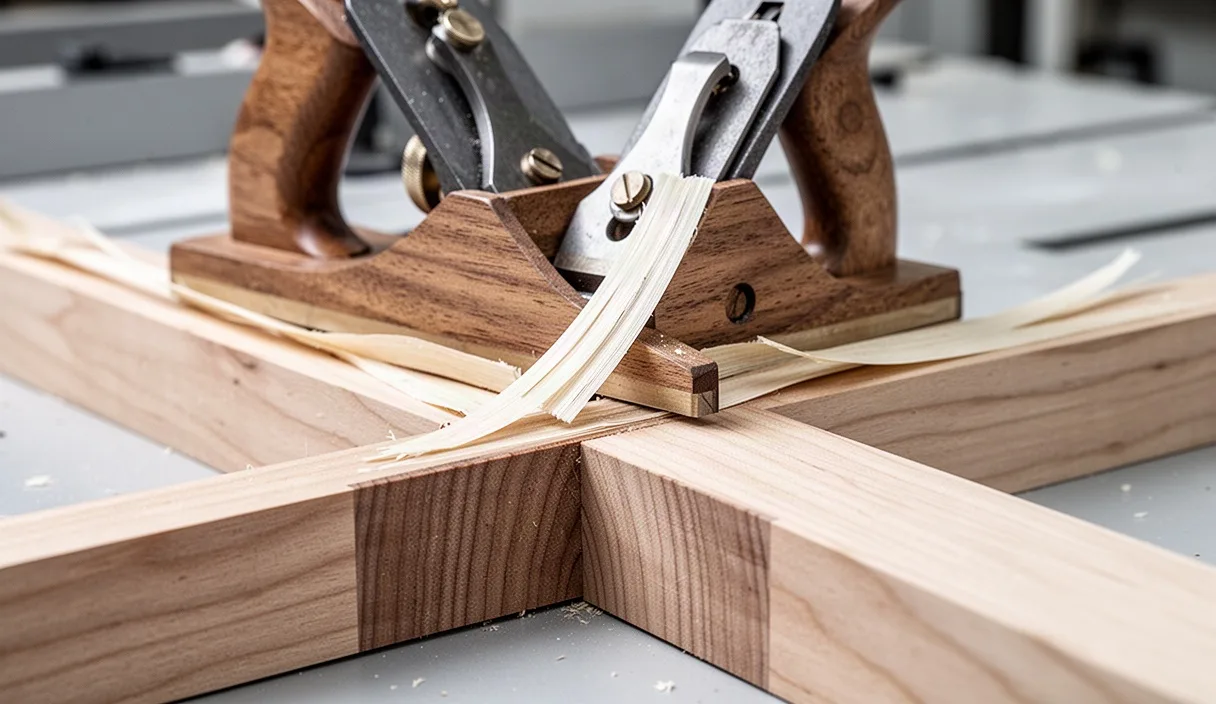
Even with careful sawing, the raw cuts from a backsaw rarely produce a clean fit straight from the bench. Freshly sawn surfaces show subtle tooth marks and microscopic ridges. To achieve a tight seam that shows no dark cracks along the furniture surface, you must tune the fit using a bench chisel or a shoulder plane.
What should a well-fitted mortise and tenon feel like during assembly? It should glide together under moderate hand pressure. If you have to beat the rail into the mortise with a heavy mallet, the tenon is too thick and will split the leg when glue causes the fibers to swell. If the tenon drops into the cavity under its own weight and wiggles from side to side, it is too thin, and glue will not bridge the gap structural strength demands.
Inspect the cheeks first. Rub soft carpenter chalk over the inside faces of your mortise, slide the tenon in gently, and pull it back out. High spots on the tenon cheeks will show white chalk transfers. Lay your tenon flat on the bench and pare those marked spots away with a wide chisel held flat against the wood, bevel facing up. Keep your paring strokes light and controlled, peeling away shavings as thin as onion skin.
If the joint stops short and leaves a visible gap at the seam, the shoulder is uneven. Examine the inner edge of the shoulder cut. A small, intentional undercut helps here: use a sharp chisel to slightly back-bevel the shoulder surface by half a millimeter inward toward the tenon root. This ensures that only the absolute outer perimeter of the shoulder presses against the mating leg, forming a closed, razor-tight joint line without internal wood humps pushing the surfaces apart.
Common mistakes
- Sawing on the layout line instead of the waste side: Scribing lines represent the finished edge of your wood. A saw blade has a cutting thickness between 0.5 mm and 0.8 mm. Cutting on the line removes this material from the tenon cheek, leaving the joint loose and weak.
- Prying waste out against the mortise ends: Levering a mortise chisel like a crowbar against the outer rim will crush the soft end grain of the receiving board. Always lever against the bottom of the slot or the waste wood in the center of the trench.
- Forgetting reference marks: Setting a gauge from one side of a leg and the opposite side of a rail introduces board thickness errors into the joint, resulting in misaligned surfaces that require excessive hand planing later.
- Neglecting mortise depth clearance: If a mortise is cut to 30 mm and the tenon is 30 mm long, wood shavings or pooled glue at the bottom of the cavity will prevent the shoulder from closing completely. Always cut the mortise 3 mm to 5 mm deeper than the tenon length.
- Relying on blunt cutting edges: Dull chisels force you to strike harder with the mallet, which reduces control and causes the tool to drift off the vertical layout lines.
Next steps in the shop
Building consistent joinery by hand comes from muscle memory and visual discipline. Before committing your primary furniture timber to the bench, take two offcut scraps of domestic hardwood, such as poplar or cherry, measuring roughly 20 mm thick by 50 mm wide. Prepare their four faces square to one another using a hand plane and a reliable engineer square.
Lay out and cut a single through-mortise or blind mortise using the sequence outlined above. Pay close attention to how the chisel feels when it cuts perpendicular to the grain compared to when it shears parallel to it. Once assembled, slice through the joint along its centerline with a hand saw. Looking directly at the cross-section of your work inside the wood will show you exactly where the cheeks touch, where gaps exist, and how deep your chisel traveled. Adjust your gauge pressure and saw posture based on what you find inside that test cut, then proceed to your furniture components.