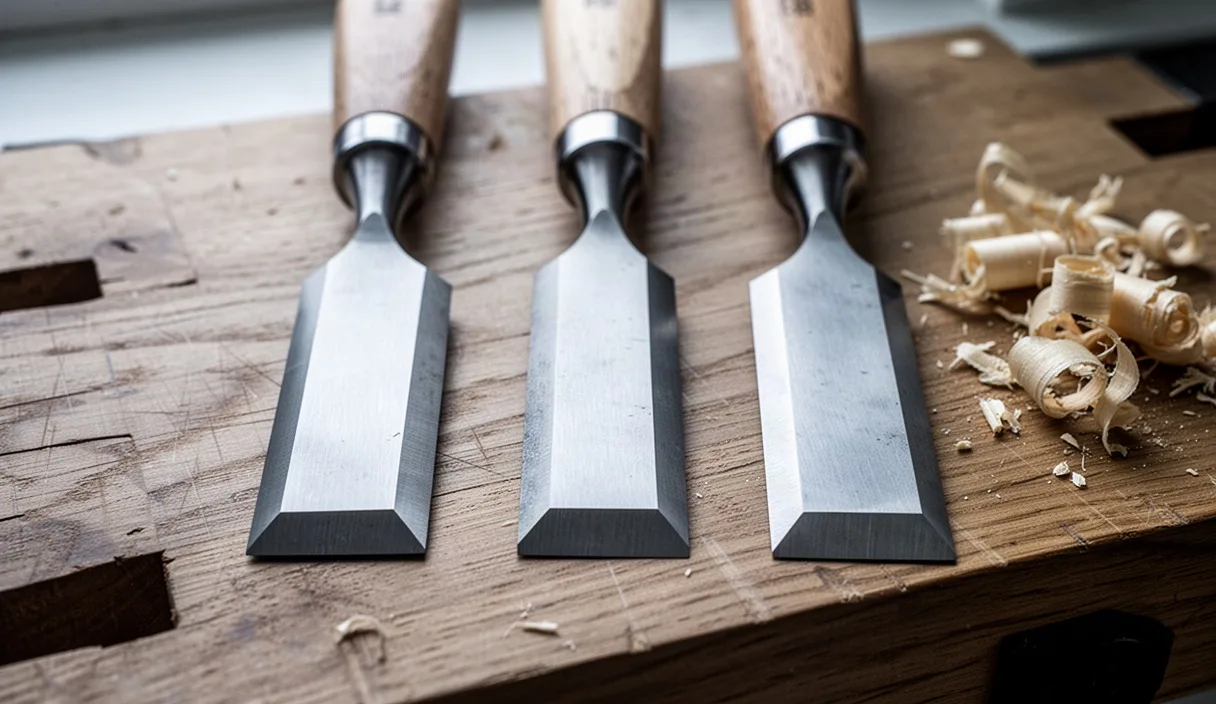
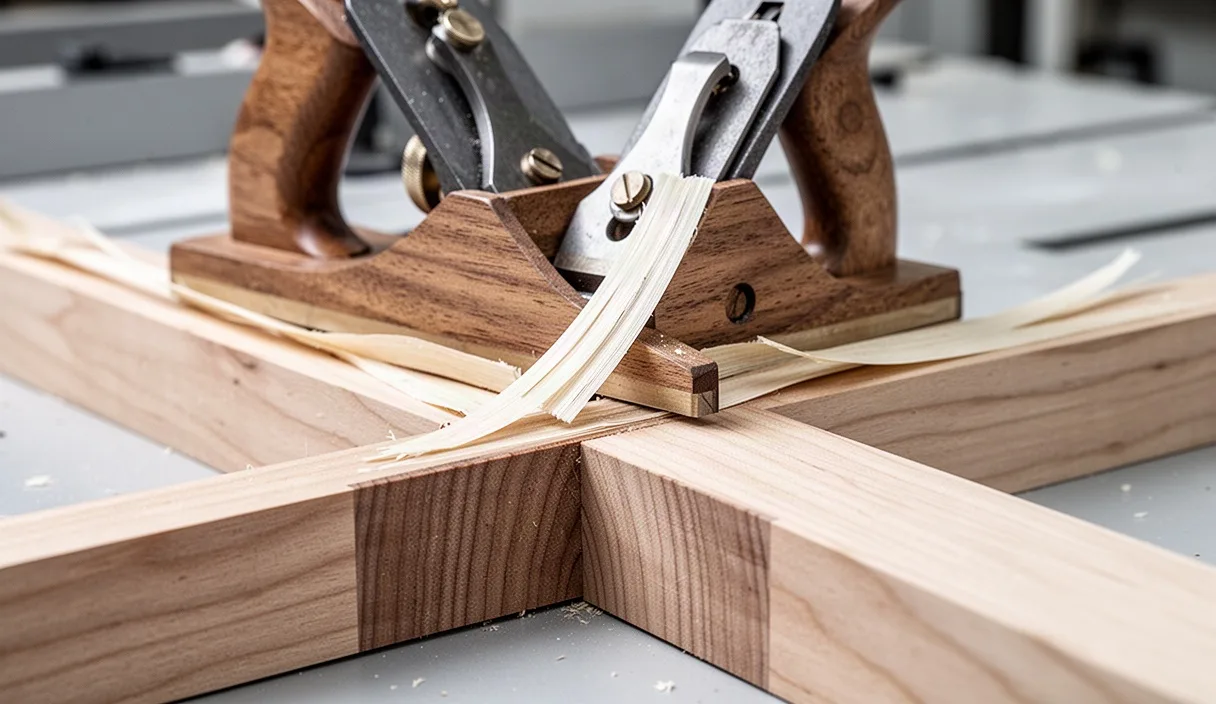

Every woodworker eventually experiences the sinking feeling of taking a final smoothing pass across a prized board only to hear a rough, ragged crunch. Instead of a paper-thin ribbon floating out of the plane, a jagged pocket of wood rips out from the surface. This damage is called tearout. It leaves behind a sunken, rough depression that often requires aggressive flattening or sanding to repair, costing you thickness and time.
Wood is not a uniform, plastic material. It is a bundle of cellular tubes grown under wind, gravity, and sunlight, which means its fibers rarely run in perfectly straight lines. Preventing tearout comes down to reading the direction of those fibers before your tool touches the board. Once you learn to look for surface visual clues, grain reading becomes a fast, automatic habit that protects your workpieces from unnecessary damage.
The shingle metaphor: why blades tear rising fibers
Why does a razor-sharp blade slide effortlessly across one face of a board, yet dig in and rip chunks out of another? The easiest way to picture wood grain is to imagine asphalt shingles on a pitched roof. If you push a flat shovel down the roof, sliding from the top peak down over the overlaps, the tool glides cleanly over every edge. If you turn around and push that same shovel up the roof from the gutters, the edge catches beneath the seams and pries the shingles loose from the plywood deck.
Wood fibers behave the exact same way. When you cut wood, you are severing microscopic hollow tubes called tracheids or vessel elements. If these fibers slope upward toward the path of your oncoming blade, the cutting edge acts like a wedge driven beneath them. Instead of severing the fiber cleanly across its width, the blade wedges underneath the bundle, pries it upward, and snaps it off deep below the finished line of cut. This creates tearout.
Planing "with the grain" simply means cutting the fibers downhill. In this direction, the blade cuts down onto the supported base of each fiber, severing it against the solid mass of the wood beneath it. When cutting downhill, the shavings remain intact, the blade path stays quiet, and the surface left behind is glass-smooth.
Reading cathedral patterns on flatsawn lumber faces
How do you tell which way the shingles run on a flat board? On flatsawn lumber, the most obvious clue comes from the wide, arching shapes running down the face of the board, commonly referred to as cathedral patterns. These arches are formed when a straight sawmill blade slices horizontally through the conical growth rings of a tree trunk.
To read cathedral grain, follow the direction that the arches point. As a rule of thumb on flatsawn boards, you plane in the direction that the cathedral points are aiming. Imagine the arches as spearheads or arrows showing you the direction to push your plane:
- Cathedral points facing away from you: The grain usually slopes downhill in that direction. Push the hand plane along the path the points indicate.
- Cathedral points facing toward you: Pushing the plane across the face will lever up the rising growth rings, resulting in heavy tearout along the center track of the board. Reverse your board or turn your body around.
Relying solely on cathedral markings can occasionally lead you astray if a board was cut from a crooked log or near a branch cluster. The visual arches tell you how the annual rings intersect the surface plane, but local deviations can tilt fibers in the opposite direction. For that reason, cathedral patterns are a quick preliminary check rather than an absolute verdict.
Checking edge grain lines before setting plane direction
When cathedral markings look unclear or contradictory, looking at the edge of the board provides the definitive answer. The edge reveals grain runout, which is the angle at which the wood fibers exit the face of the lumber. Look closely at the narrow side of your stock under good raking light.
Look at the lines traced by the annual rings on the edge. Do they run parallel to the edge, or do they slant from one face to the other? If the lines tilt upward from left to right, planing from left to right along that top face cuts downhill. The blade enters the fiber at its free tip and cuts downward toward the body of the board. If you plane from right to left, you are driving the edge directly into the rising slope.
| Edge Grain Direction | Top Face Cutting Direction | Resulting Surface |
|---|---|---|
| Slanting upward left-to-right | Push left to right | Clean, burnished surface with no fiber lift |
| Slanting upward left-to-right | Push right to left | Pitted grain, chatter marks, deep tearout pockets |
| Perfectly parallel to board edge | Push either direction | Clean cut, minimal risk of fiber lifting |
Always inspect both edges before taking a stroke across a wide face. Trees naturally taper from bottom to top, and boards dried in a kiln can cup slightly, causing fibers to slope upward along one edge and downward along the opposite edge. When this happens, you must plane each half of the board in opposite directions, working from the outside edges toward the center seam.
Managing wild grain around knots and branch crotches
What happens when you encounter knots, branch crotches, or curly figure where the grain runs in multiple directions at once? In these sections, known as wild or figured grain, fiber orientation shifts every few inches. Following the grain downhill on one side of a knot means cutting uphill into the opposite side.
Around knots, the tree grew new layers of wood to curve around the dense branch stem, creating severe grain deviation. Approaching these regions requires three specific adjustments:
- Skew the plane: Turn the tool 30 to 45 degrees relative to your line of travel while pushing straight forward. This lowers the effective cutting angle of the blade, transforming a direct wedging action into a slicing motion that cuts cross-grain fibers before they can split upward.
- Take gossamer shavings: Back the iron out until it stops cutting completely, then advance it by tiny increments until it takes a cut that feels more like dusting flour than peeling wood. Thin shavings exert very little mechanical leverage against rising fibers.
- Work diagonally: Traverse the wild area diagonally from two opposing directions. This cross-hatch approach nibbles high spots down to level without letting the cutter catch an entire run of fibers along their weakest axis.
Setting a tight mouth and close chipbreaker to tame tearout
Even when you understand grain direction, some stubborn boards tear out regardless of which way you push the tool. In these cases, you need to use the mechanical defenses built into your hand plane: a narrow mouth opening and a closely set chipbreaker.
The chipbreaker, also known as the cap iron, sits bolted directly to the flat face of the plane blade. Many woodworkers assume its only job is to stiffen the cutting iron, but its primary function is to break the shaving the instant it is severed. As the blade lifts a shaving, the curved front of the chipbreaker forces that wood fiber to bend forward sharply. This sharp bend creates tiny, controlled micro-fractures in the top of the shaving, destroying its ability to act as a long wooden lever that pulls out wood ahead of the cutting edge.
To eliminate tearout on reversing grain, set the leading edge of the chipbreaker between 1/64 inch and 1/32 inch (roughly 0.4 mm to 0.8 mm) away from the sharp cutting edge of the blade. The cap iron must fit flush against the blade face with zero gap. If even a sliver of light shows between them, shavings will jam under the chipbreaker within three strokes, completely clogging the tool.
Next, adjust the frog of the hand plane forward to close the mouth opening. The sole directly in front of the blade acts as a hold-down clamp on the wood surface. When the mouth gap is set under 1/32 inch, the sole holds the wood down flat right up to the exact moment the blade slices through it, preventing fibers from lifting upward.
Recognizing when to switch to a card scraper
Sometimes you will encounter figured boards, like bird's eye maple, highly blistered walnut, or quartersawn oak with interlocked grain, where fibers switch directions every millimeter. An interlocked grain means the helical spiral of the tree trunk shifted from left to right and back again throughout the tree's life. No hand plane, regardless of how sharp or tightly tuned, can plane both grain layers simultaneously without causing micro-tearout.
When plane shavings begin to shatter and crumble into powdery fragments, stop planing and reach for a card scraper. A card scraper is a simple rectangle of spring steel conditioned with a turned hook, or burr, along its edge. Unlike a plane iron that lifts and wedges under the wood, a scraper's burnished burr cuts with zero downward wedging pressure.
Because the scraper works at an effective cutting angle of roughly 85 to 90 degrees, it operates purely by scraping shear. It severs the wood cleanly without ever pulling the fiber upward from the surface. The tool removes gossamer-thin ribbons while completely bypassing grain direction rules. You can push or pull a scraper straight across wild knots, curly waves, or burled inclusions without causing a single pit of tearout.
Common mistakes
Even experienced woodworkers occasionally misjudge lumber surfaces. Avoiding these common traps will save your boards from accidental damage:
- Reading only the face markings: Depending entirely on surface cathedral patterns without confirming grain runout on the edge of the board frequently leads to misreading the cut.
- Ignoring grain shifts along the length: Boards often bow, crown, or pass through the center of a log, causing grain to change direction halfway down a single eight-foot board.
- Planing with a dull blade: A blade that is slightly dull increases downward cutting resistance, pushing fibers over instead of cleanly shearing them and drastically increasing tearout.
- Trying to sand out deep tearout: Sanding a localized tearout pocket creates an unsightly dip that becomes very noticeable under an oil finish. Plane or scrape the entire surrounding area down evenly instead.
Practical next steps
To build grain reading into your workshop muscle memory, start with an intentional practice session on a few pieces of scrap lumber:
- Select three boards with different grain types: one flatsawn piece with strong cathedral arches, one quartersawn piece with straight lines, and one scrap containing a visible knot.
- Take a pencil and examine the edges of the boards. Draw arrows directly onto the edge showing the upward slope of the growth lines, then transfer those arrows across the face to indicate the correct planing path.
- Take a few test strokes along the indicated path with a sharp hand plane. Pay attention to the sound and the feel through the tote. A correct cut produces a soft, continuous whisper, while an uphill cut feels resistant, coarse, and chattering.
- Deliberately turn the board around and take one light pass in the wrong direction. Note the difference in resistance and look closely at the rough, torn pockets left behind under good lighting.
By connecting what you see on the edge of the board to what you feel through the plane handles, you remove the guesswork from your surfacing work and achieve tear-free surfaces across every project.